Carrie

An Update on Haley's Living Room: Accessories Matter

House-of-Goo-Cozy-and-Classic.jpg

It's only 3 weeks until littlest sister Haley moves away to Madison and into her grown-up condo. Because she's furnishing and decorating this place from scratch and on a budget, we've been spending a ton of time shopping, looking at fabric swatches and paint decks, and scrolling endlessly through the interwebs for the greatest and cheapest (fill in the blank).

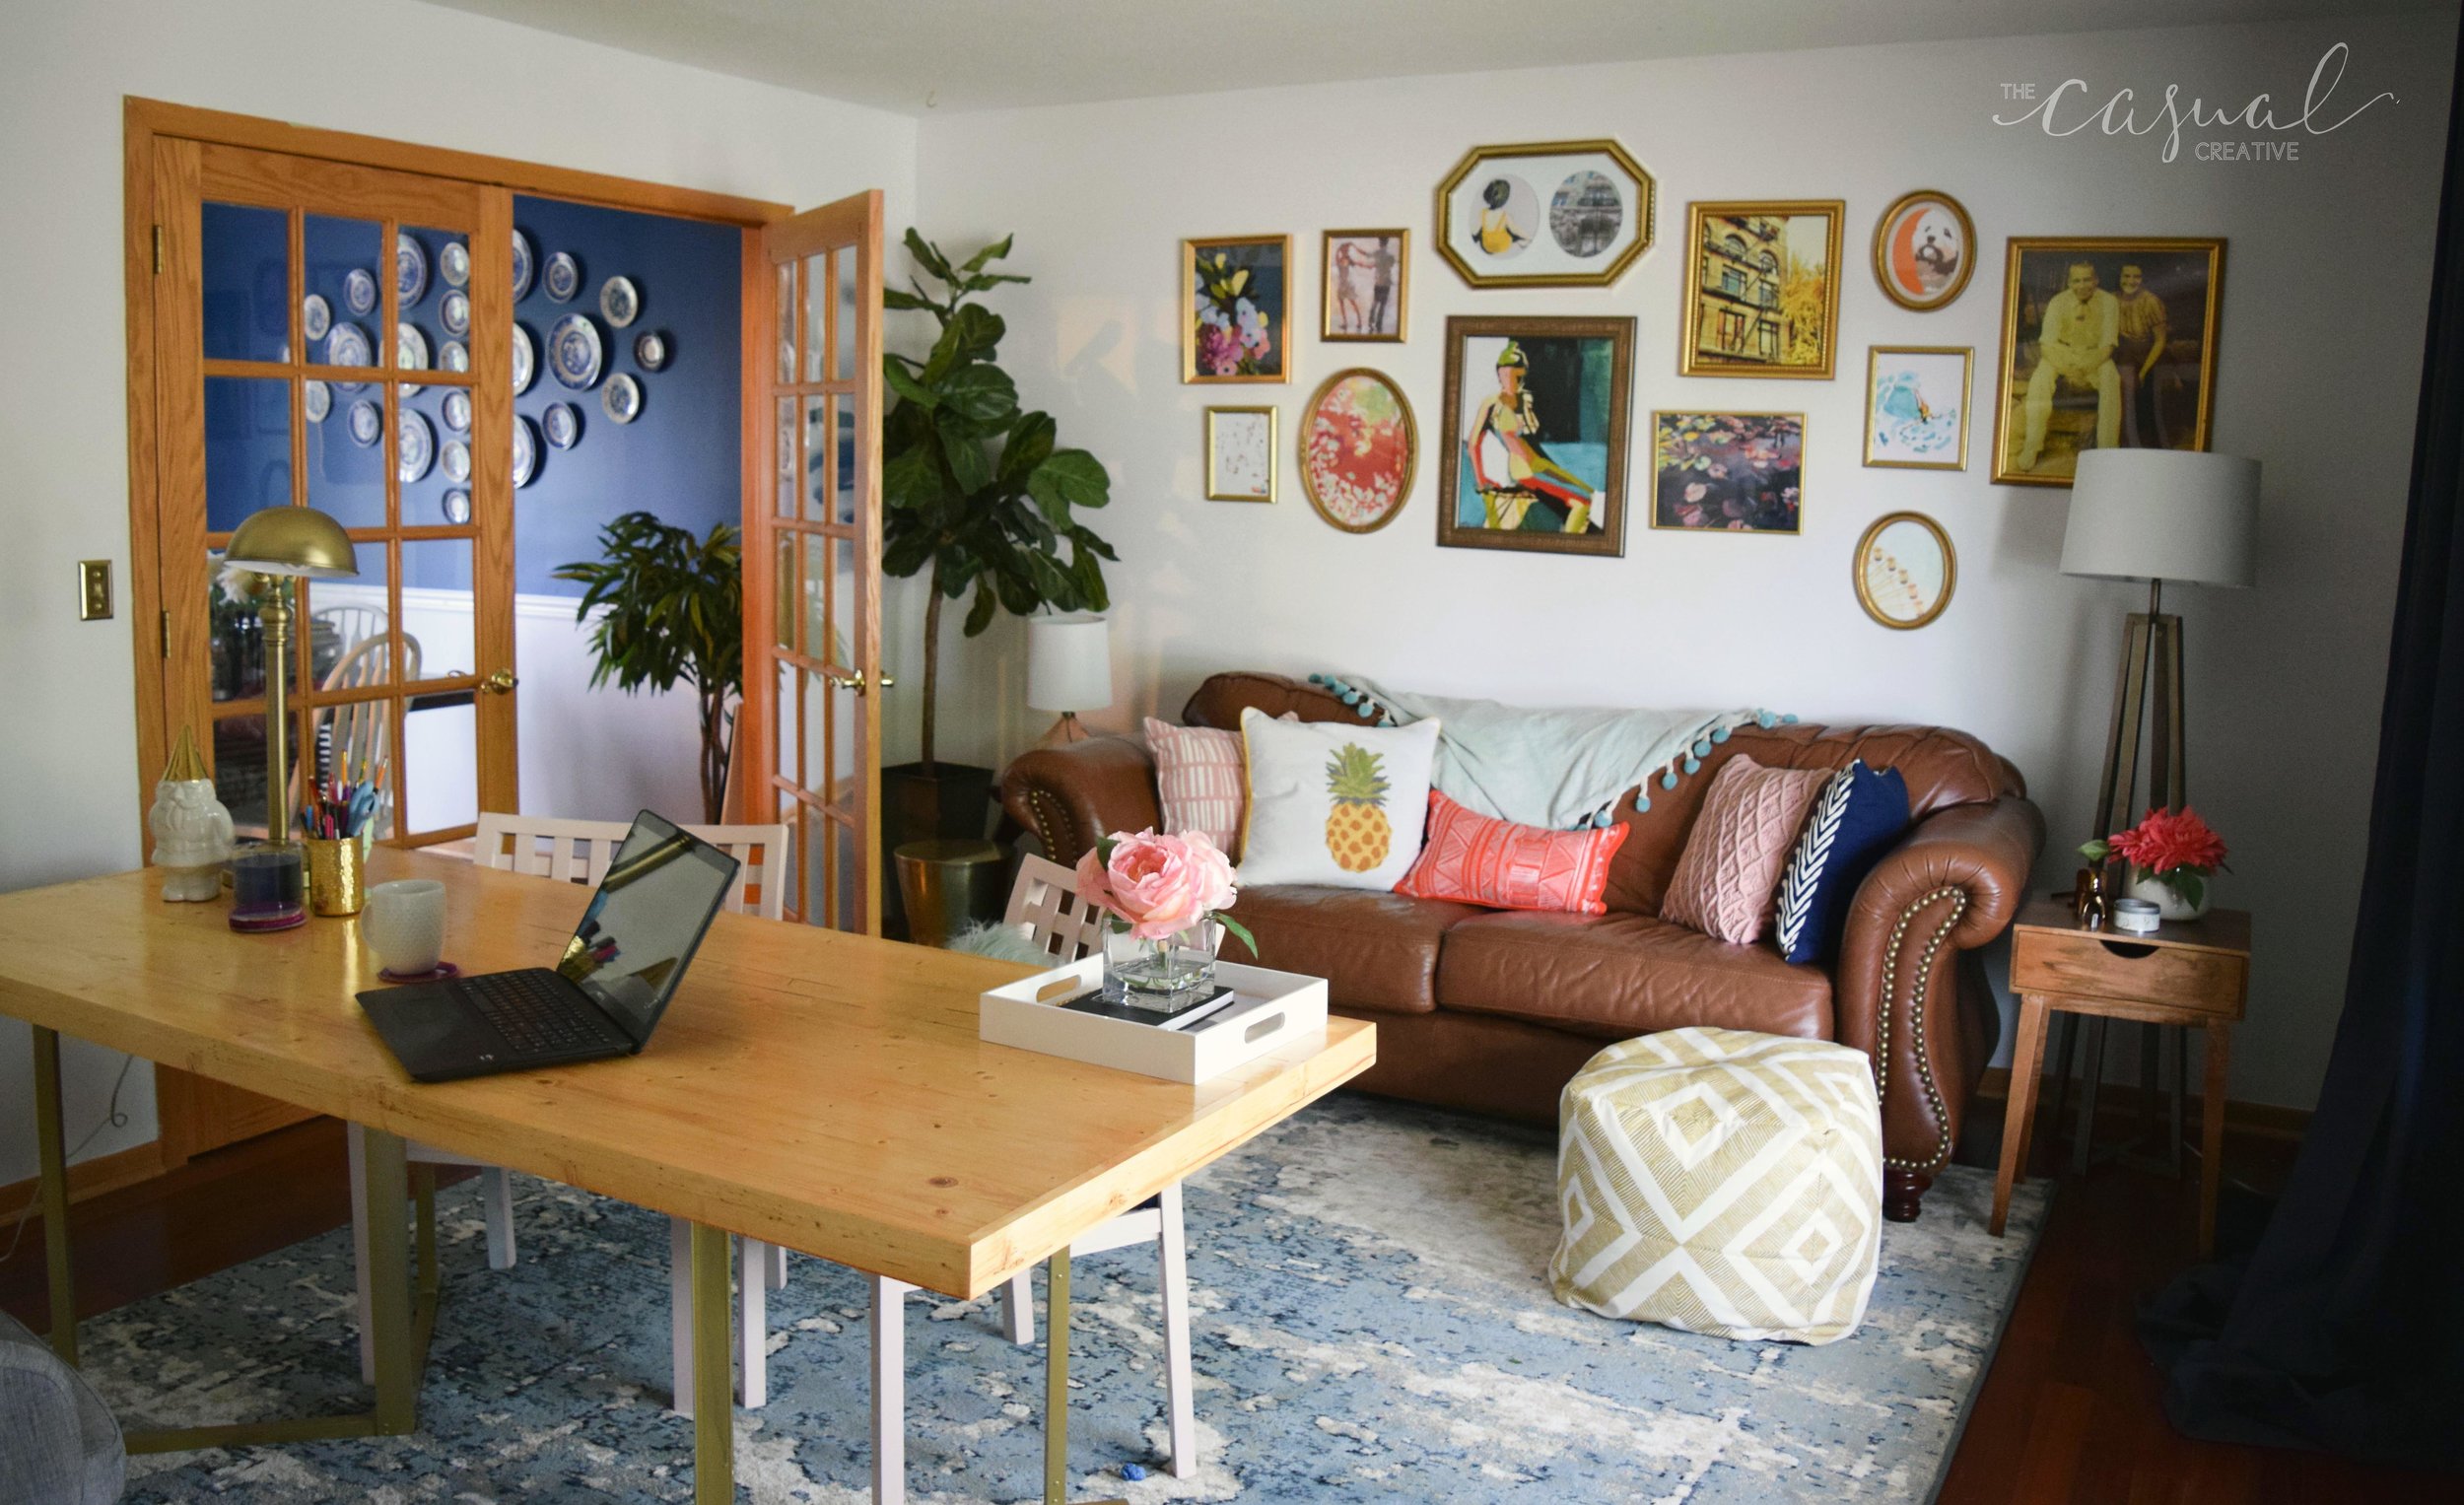
I teased some concepts for her living room (and really her dining room and entryway because it's an open great room) a while ago and figured it was time to update you on how closely those plans had been followed and what we've bought. Most of your favorite design also happened to be hers, so we started from this "Classic and Cozy" concept.

I loved the idea of a mostly neutral and pulled-back space with some pops of color (blue couch!) and warm wood and leather. The aspirational part of this design was the notion of tiling the fireplace - we loved the look, but just couldn't justify the cost in a temporary home for a med-school student. Haley also really screwed up when she was budgeting and didn't budget for multiple leather Moroccan poufs which can easily cost $200 a pop. I tried to tell her that I needed EMERGENCY pouf money in the budget, but she's way more sane than I am about these things and said no. Lame.

I think Haley was like a lot of people who really struggle to make the first big purchase when staring at what is basically a blank canvas. She liked the idea of the blue couch but was hesitant to go with something non-neutral for the first and biggest investment in the space. And honestly, brightly colored furniture wouldn't be my recommendation in most cases, but we found this great, expensive looking fabric in just the right shade of blue, and Haley's fun side won over.

With the first big purchase made, a lot of other things came together quickly. The rug and chair matched the design plan pretty closely. Haley's not a big fan of mid-century, so we went looking for something more industrial for the coffee table, and she and my mom found a great one at Macy's, of all places.

And after a lot of looking for poufs with fairly specific requirements (not too tall, comfy to sit on, not requiring emergency funds) I found a great floor pillow at target. Now of course I only found one, and it was in an odd spot in the store, and they were sold out online and in all nearby locations. But middle sister Rachel came to the rescue and found one in a suburb of Milwaukee even after the store told her on the phone that they didn't have it - score! Here she is showing off her pouf hunting skills.

So with the "big things" purchased, I asked Haley how she was feeling about everything. Basically, she liked everything we had purchased, but was worried about the room/house being too masculine and serious. We hadn't gotten anything bright or cheery or girly or particularly young - so I got where she was coming from. Without any of the "extras" the room was coming together like this.

Looking at this, I understood why she was feeling that way - it was a whole lot of neutral without a lot of personality. I assured Haley that accessories would make all the difference. And guess what? They do! Even in a mood board before we have anything in the room.

Instead of making this post way too long, I'm gonna get fancy for just a second and show you how I plan on aaccessorizing the room with a nifty gif.

Well would you look at that - Girliness! Personality! A little youth!

Here's how this works in my head and the basic path we'll follow when we're actually loading in...

First, we found great paint stencils that are meant to give the effect of tile from Dizzy Duck Designs - she even ships fast and cheap from the UK! I was originally thinking we would do the stencil design in a charcoal, but I think the blue will balance out the space better.

Next, I picked some art to go in the big Ribba frames we purchased on our epic Ikea adventure. And honestly, 4 hours and 4 carts in Ikea on a rainy Saturday does qualify as epic. Here's a super cute picture of Haley to prove it.

The happy abstract art pieces are all from Minted. Haley was really struggling with what sort of art would work well, but the more I've looked, the more I keep coming back to these big shots of color that don't have subject matter to get sick of.

Because we'll have all these frames over the couch, I wanted to do something more sculptural over the fireplace. This big, brass line sculpture is from Target, and I think will be a good modern contrast to the more traditional pattern on the fireplace.

To bring the blushy tones from the art into the room, I added some vases that I got on clearance at Target a while ago. Next, I populated the mantel with a mix of blue glass from Ikea and some fake pink peonies that will look good all year long - ha. Plants are a must to soften up the space - even faux plants bring life and texture. And finally, a few throw pillows will bring everything together.

Just look a what a difference a few accessories can make! Of course, if she got sick of blush or wanted something more mellow all she would have to change is the art and swap out a few pieces. Now I just have to hope that Haley likes all this stuff. :)

Stay tuned for the reveal of the full space!

DIY Shibori Baby Blankets

20170409-DSC_0586.jpg

At various times of your life, your time gets consumed by certain types of parties. Graduation parties, college parties, then all of a sudden every summer weekend is consumed by weddings, and then later on you have an "OMG I'm old!" moment when you realize you have 8(!!!!!) friends having babies in the next 4 months. So, for me, it's baby shower season.

I happen to love babies, and love my friends, so this is actually pretty fun for me. I also happen to be a big proponent of getting your friends practical stuff off their registry that they actually want and will need, because obviously babies need a whole lot of stuff. BUT, I also think that including something a little more personal and handmade is sweet and makes the gift giving and receiving more fun.

So, with the baby showers nearing on the calendar, I decided I would use the popular Shibori technique on some plain white swaddling blankets. They turned out SO sweet and soft that I thought it was worth sharing the tutorial.

If you're wondering what the heck Shibori is, Andy says it is "fancy, non-hippie, tie dye - more folding, less swirling," and he happens to be exactly right. The technique is being used all over interiors, clothes, and although it's traditionally done using indigo dye, I love how it looks in any color. For example, here is Martha Stewart trying to sell you a $300 shibori shower curtain, naturally.

That dang Martha... she's good, but I promise you this shibori thing is really not hard. To start, pick up some Rit Dye and make sure whatever you want to dye is 100% cotton. I've done shibori on materials that are up to 40% polyester, and they've come out ok, but the cotton definitely handles the dye better.

Personally, I think the liquid Rit Dye is way easier to work with, and it's easy to mix a little at a time to get exactly the colors you want. The bottles say to boil water, but I just let my faucet run as hot as it would go for a little while, and that worked just fine.

A lot of people think of dye projects as messy, but this is about as easy as they get. (Don't ask Andy about that time I made him help me dye a whole rug. We were still dating then - I'm lucky we ended up married.) I just used a glass bowl in my kitchen sink and wore a glove so my nails didn't end up funny colors.

A couple of pro tips: I dip the corner of a paper towel into my dye bath to make sure the color and saturation are what I'm looking for. The colors often look totally different in the water versus on the fabric, and the colors always fade a little after a wash. Also, a lot of other online tutorials will tell you to use wood or foam board to sandwich your fabric after it's folded. I didn't want to spend the money on that stuff, and didn't have a lot lying around. What I did have around? Amazon boxes. So I cut cardboard to the shape I wanted and used that.

But let me back up a little: the graphic shibori patterns are created by using various types of accordion folds and sandwiching the fabric between materials that will cause the center of the folded design to resist the dye. You can find lots of instructions for various types of folds on pinterest, but my favorites are the geometric squares, rectangles, and triangles.

When you have everything folded and bound up, and your color just perfect, it's time to dip! Because you want the fabric in the middle of the design to resist the dye, it really doesn't matter if you can't fit your whole sandwich in the dye bath. In fact, I only dipped each edge in for about 30-45 seconds because I wanted the colors to be soft and muted and perfect for nurseries.

Once all your sides have been dipped to your desired saturation, rinse the fabric with really cold water to set the dye. I did this until the water ran pretty clear, and then cut the twine off the sandwich and peeled away the cardboard. The cardboard was usually starting to fall apart by now, but because I wasn't looking for super exact designs I was fine with it. Unfolding the fabric for the first time is like opening up a present! You're never quite sure what you're going to get, but it's usually pretty fab. Once the fabric is rinsing clear, I threw the blankets in the washer and washed with regular detergent on a cold delicate cycle and dried on delicate as well.

How cute did these turn out?! I don't know the genders of many of the soon-to-be-born kiddos yet, so I did a lot of blankets in gray and yellow and a few in blues, greens, and pinks. Hopefully there aren't 8 girls born, or I'll be dying more blankets! Or - there will be a bunch of tiny girl boss babies rocking their beautiful handmade blue blankets. Party on, little ones.

A Living Room with Personality for My Sister

House-of-Goo-Cozy-and-Classic.jpg

I'm baaaaaaaaack. I didn't mean to go into hiding for a year, but there was a wedding (future post on that later, but YAY for being a Mrs.), a job that has become pretty all-consuming, and you know - life in all its messy glory.

So why did I come back from my extended hiatus? Because I got a really fun job from the toughest client ever - my littlest sister.

Haley is starting medical school in the fall in Madison (whoop whoop) and just purchased her first condo. She doesn't want it to feel like a dorm room, but doesn't know much else beyond that. The only descriptors of her style that she's given me are "happy, colorful, and clean lines". Soo.. I'm pretty much starting from scratch.

Because I know my sister, I have established a few ground rules for the design of this place.

1) There's a time to be rustic, but this ain't it. This is a walk-up condo in a city, for a twenty something. I love Joanna Gaines as much as the next person, but a bunch of shiplap and milk crates just isn't gonna happen here.

2) There's a time for all white and sleek and museum-like, but this ain't it. There is only one person better at spontaneous napping and most-of-the-day couch sessions than me, and that is Haley. So a place that feels cold and too sleek isn't gonna work.

3) Haley's gotta feel happy there.

With all that in mind I put together 3 different looks for her living room... which when it was listed looked like this.

ISybj6m8qrm3m01000000000.jpg

Because this is an open space to her dining room, kitchen, and hallway, the walls will be a light, happy neutral. No matter what, I think I want to do some floating cabinets or a long credenza along the wall to the left of the fireplace. I think this will square-off the room and make that inset space more functional. We (meaning me and my expert design and installation team - the fam) are going to wall-mount her TV where that too-small art hangs now (like the Homepolish image below). A couch will be where the current owners have their couch, but we'll put 2 chairs in front of the fireplace to make it one cohesive room.

Ok, so design plans - the fun part. I put together these mood boards so she could have a better idea of how stuff works together and the general feel of the space. Not every accessory is included, obviously, but I tried to make sure the major pieces were working together well.

Option 1

Rug | Couch | Chair | Coffee Table | Lamp | Curtains | Art | Poufs

For all of these spaces, I want to take the flimsy white framing off the current fireplace and have my dad (the furniture-maker extraordinaire and handyman of this operation) put in a chunkier wood mantle to make it feel more finished. I don't want to say too much about my thoughts on each design, because I want to hear what you (and of course Haley) thinks first.

While we're talking about family roles in this endeavor, let me try to draw some HGTV parallels for you so you understand the dynamics. Here's our cast of characters for Dysfunctional Design:

Carrie (me): The designer (I still cringe every time I call myself that) with lots of ideas and plans. Mostly concerned with look and feel of spaces, not so concerned with logistics, budgets, how to make things happen, etc. You know who I really miss on HGTV? Genevieve. She was a classic.

Haley: The client, obviously. She's not nearly as annoying as those people on House Hunters that only care about granite countertops and paint colors, but she's also not real decisive. Anything to make her happy!

Mom - Jaci: My mom is like that semi-annoying design assistant that doesn't get much camera time, but does most of the actual work. (shout out to Dessa on Love It or List It!) She's chief list-maker, budget watcher, painter, installer, problem-solver, etc. etc. I'd be lost without her.

Dad - Dan: Ty Pennington, Chip Gaines, take your pick for ruggedly handsome man wielding a hammer and saw. That's my dad. He makes beautiful furniture (like these built-ins - still love them!) does what needs to be done, and in this case does all the real life-saving work that helps to fund these little endeavors for his girls. His only fault is that he's not always real quick to concede that something needs to be done by a pro...

Andy: Super helpful, but not super handy. He's great at holding the dog when it gets scared of the air compressor, running to store for that thing we forgot when we were there the first 8 times, holding and carrying stuff... He really is pretty helpful, but we like to give him a hard time. Love you, hubs, but this is real talk.

Rachel and Andrew: The sister and her hubs in Milwaukee may make an appearance and get a spot on the "show", but they're probably smart just to skype every now and then, give a critique, and then go back to their sane lives and leave us to figure out what to do next. Actually, now that I think about it, they're like the subcontractor that walks in half-way through the demo says "this isn't gonna work, here's my bill, see ya." That's the sweet life right there.

That was an odd little tangent...back to the design.

Option 2

Rug | Couch | Chair | Coffee Table | Lamp | Curtains | Mirror | Poufs

My mom the budget watcher might hate me for suggesting we tile the fireplace, but seriously... how great would that look with a pretty cement tile? The patterns would probably be a slightly smaller scale than this, but I think this space could use a showstopper focal point, especially if we keep the rest fairly neutral.

Option 3

Rug | Couch | Chair | Coffee Table | Lamp | Curtains | Mirror | Poufs

This is definitely the girliest option, but if Haley and a potential roommate have this bachelorette pad for awhile, why not girl it up a little bit? This fireplace is tiled again, but this could easily be a geometric patterned wallpaper too.

Ok - if you've managed to hang in there through this much of rambling, you get a reward! Vote below and let Haley know which option you would pick. Or - leave a comment and let me know what you love or hate about any of them. Ready, go!

One Room Challenge: The Office | Week 6 - The Reveal!

DSC_0907_title.jpg

I wish there was a way to express that jumping up and down, happy dance feeling in text, because that's totally where I'm at right now. Well, I'm not actually jumping because I just worked a 12-hour day at my new job, but that's not the point. In my head, I'm happy dancing.

Staying true to the One Room Challenge started by Linda at Calling It Home, I managed to finish revamping my office in six weeks, stay on budget(!!), and document the process along the way. If you want to go back and see all the not-so-pretty moments and rants along the way, click the links below. If you want to hustle up and just see the pictures already, keep scrolling.

Week 1 | Week 2 | Week 3 | Week 4 | Week 5

Before I reveal too much more of the finished office, let's reveal the before pictures, shall we? This was a blank, gray room off the dining room.

2014-12-12 09.45.49.jpg


I think you've heard me (read me?) yap about this room enough, so I'll let the pictures speak mostly for themselves. However, it would be totally unfair of me to post the pictures without thanking my mom, dad, and andy, who all were great builders, craigslist picker uppers, haulers, encouragers, and super patient with me while I worked through this. In the last six weeks I have: interviewed for a job, wrapped up an old job, started a new job, gotten engaged, started planning a wedding, AND redecorated a room. The patience was SO SO necessary.

Overall, I'm so happy to have an energizing, happy, pulled-together space to work and relax in. Here's my office!

I don't feel like I challenged office norms all that much - the basic elements that you would expect were all there. Desk - check. Shelving - check. But I love how cozy and warm the room ended up. At first I was begrudging the lack of overhead lighting, and now with lamps in place I'm loving the softer glow. I'm thrilled to have a room to get some serious and creative work done, and another spot to lounge when Andy is playing Madden in the living room :)

Let me know what you think and if there's anything you would change!

P.S. - the cabinets are getting hardware soon. I'm just scared to drill holes and then realize they're not centered or level. Totally normal fear.

One Room Challenge: The Office | Week 5

DSC_0805.jpg

[et_pb_section admin_label="section"][et_pb_row admin_label="row"][et_pb_column type="4_4"][et_pb_text admin_label="Text" background_layout="light" text_orientation="left" use_border_color="off" border_color="#ffffff" border_style="solid"] Hey you guys! I'm writing this blog post from my brand new, custom-built desk! WOO HOO!

But let's back up a second...I've been working on redoing my office as a guest participant in the One Room Challenge. In case you haven't been following along, the One Room Challenge is a blogging event put on by Linda at Calling at Home. 20 featured bloggers and a bunch of guest participants take 6 weeks to update or renovate one room, and everyone posts their progress along the way. This is week 5, which of course means that this is the last progress post before the big reveal!

It's really hard for me to be patient and wait to show you all the cool things that are happening in here. I mean, I'm the sort of person that gives gifts as soon as they come in the mail because I can't wait to give them to people! But I'm going to be strong and wait to reveal it all next week. There is still PLENTY of progress to show off for this week.

[/et_pb_text][et_pb_image admin_label="Image" src="http://www.thecasualcreative.com/wp-content/uploads/2016/04/2016-04-28-07.24.08.jpg" show_in_lightbox="off" url_new_window="off" use_overlay="off" animation="off" sticky="off" align="left" force_fullwidth="off" always_center_on_mobile="on" use_border_color="off" border_color="#ffffff" border_style="solid"] [/et_pb_image][et_pb_text admin_label="Text" background_layout="light" text_orientation="left" use_border_color="off" border_color="#ffffff" border_style="solid"]

Really, this post should be titled "an ode to my incredibly patient, hardworking, handy parents". They worked SO HARD to help me achieve my vision and I couldn't be more thankful, because I LOVE how the biggest projects in the room turned out.

So that beautiful shot up there is what my "office" looked like pre-parents. I'd made a lot of progress on the other side of the room, but this side was waiting for the big stuff to come in, and was an utter disaster right up until that day. Andy I got everything cleared out of the room in time for my parents and the family dog Trooper showed up, and they got right to work getting the pre-built portions of the built-ins in to the house.

Now let's be clear about something - this is not a how to post. You know why? Because I don't know how-to do any of this stuff. I mean yeah - I can use saws and drills and stuff and am not some damsel in distress, but this is actual carpentry, so I let the more competent non-professionals handle it.

First my mom got to work on removing baseboards while my dad and Andy brought in the cabinet bases.


[/et_pb_text][et_pb_image admin_label="Image" src="http://www.thecasualcreative.com/wp-content/uploads/2016/05/DSC_0800.jpg" show_in_lightbox="off" url_new_window="off" use_overlay="off" animation="off" sticky="off" align="left" force_fullwidth="off" always_center_on_mobile="on" use_border_color="off" border_color="#ffffff" border_style="solid"] [/et_pb_image][et_pb_image admin_label="Image" src="http://www.thecasualcreative.com/wp-content/uploads/2016/05/DSC_0803.jpg" show_in_lightbox="off" url_new_window="off" use_overlay="off" animation="off" sticky="off" align="left" force_fullwidth="off" always_center_on_mobile="on" use_border_color="off" border_color="#ffffff" border_style="solid"] [/et_pb_image][et_pb_text admin_label="Text" background_layout="light" text_orientation="left" use_border_color="off" border_color="#ffffff" border_style="solid"]

We used standard base cabinets from Home Depot because cabinets are really hard to do well, and my dad has a full-time job that doesn't involve being my personal carpenter (bummer. I know.). However, my dad made custom wood countertops for the cabinets, and for the center desk area. Here he is perfecting one of the countertop pieces.

[/et_pb_text][et_pb_image admin_label="Image" src="http://www.thecasualcreative.com/wp-content/uploads/2016/05/DSC_0804.jpg" show_in_lightbox="off" url_new_window="off" use_overlay="off" animation="off" sticky="off" align="left" force_fullwidth="off" always_center_on_mobile="on" use_border_color="off" border_color="#ffffff" border_style="solid"] [/et_pb_image][et_pb_text admin_label="Text" background_layout="light" text_orientation="left" use_border_color="off" border_color="#ffffff" border_style="solid"]

We attached the countertops to the cabinets, and the cabinets securely to the wall. And again - I'm using we loosely here. I ran around and grabbed tools and held stuff, my parents did all the work, and Andy held Trooper because the noise of saws and tools and movement kinda scared the pour little guy. I mean.. just look at all the love in this picture.

[/et_pb_text][et_pb_image admin_label="Image" src="http://www.thecasualcreative.com/wp-content/uploads/2016/05/2016-04-30-18.37.53-e1462402993992.jpg" show_in_lightbox="off" url_new_window="off" use_overlay="off" animation="off" sticky="off" align="left" force_fullwidth="off" always_center_on_mobile="on" use_border_color="off" border_color="#ffffff" border_style="solid"] [/et_pb_image][et_pb_text admin_label="Text" background_layout="light" text_orientation="left" use_border_color="off" border_color="#ffffff" border_style="solid"]

Once the base layer was firmly in place, the shelves started going up. My dad built 3 custom shelving units to my specifications, so that all we had to do was install them at my house. My mom painted them to match my walls. Nothing is worse than mismatching whites, am I right? It's amazing to me how well everything fit and lined up, but my dad would tell me that I shouldn't be surprised at all :)

[/et_pb_text][et_pb_image admin_label="Image" src="http://www.thecasualcreative.com/wp-content/uploads/2016/05/DSC_0805.jpg" show_in_lightbox="off" url_new_window="off" use_overlay="off" animation="off" sticky="off" align="left" force_fullwidth="off" always_center_on_mobile="on" use_border_color="off" border_color="#ffffff" border_style="solid"] [/et_pb_image][et_pb_image admin_label="Image" src="http://www.thecasualcreative.com/wp-content/uploads/2016/05/DSC_0808.jpg" show_in_lightbox="off" url_new_window="off" use_overlay="off" animation="off" sticky="off" align="left" force_fullwidth="off" always_center_on_mobile="on" use_border_color="off" border_color="#ffffff" border_style="solid"] [/et_pb_image][et_pb_text admin_label="Text" background_layout="light" text_orientation="left" use_border_color="off" border_color="#ffffff" border_style="solid"]

Once the shelving was up and attached, it was time for the header board and crown molding. My dad said this was the part he was most nervous about, but he and my handled all the angles and awkward attaching like pros. I think the crown molding really makes the look!

I wanted to put some decorative trim on the front of the shelves and the upright supports to give the unit a little character, and this was a pretty slick process too. I don't think we ever even had to re-cut a piece of trim! I feel like I made this whole process sound easy, which isn't really fair. This was a pretty solid day's worth of work to install all of it, but I don't think my parents could have made it any easier on themselves.

[/et_pb_text][et_pb_image admin_label="Image" src="http://www.thecasualcreative.com/wp-content/uploads/2016/05/DSC_0811.jpg" show_in_lightbox="off" url_new_window="off" use_overlay="off" animation="off" sticky="off" align="left" force_fullwidth="off" always_center_on_mobile="on" use_border_color="off" border_color="#ffffff" border_style="solid"] [/et_pb_image][et_pb_text admin_label="Text" background_layout="light" text_orientation="left" use_border_color="off" border_color="#ffffff" border_style="solid"]

SERIOUSLY! How good do these look?! I'm still in awe of everything that went down here last weekend. My dad also built an awesome desk/work table that matches the countertops, but I think you'll have to tune in to the reveal to check that out.

Now it's my favorite part! Pulling together all of my random thrift store finds and pretty objects (and maybe a few actual books - HA) and styling out the shelves, desk, and the rest of the room. It's a lot of space to fill, and I don't think I'm capable of minimalism. Anyway.. there will be lots of good stuff in the reveal! I'm so thrilled to a beautiful, functional space to do some work in.

WEEK 6 REVEAL HERE I COME!

[/et_pb_text][/et_pb_column][/et_pb_row][/et_pb_section]